1. Switch the wearable board off using the switch in the top right corner. Insert the AAA batteries into the battery holder.
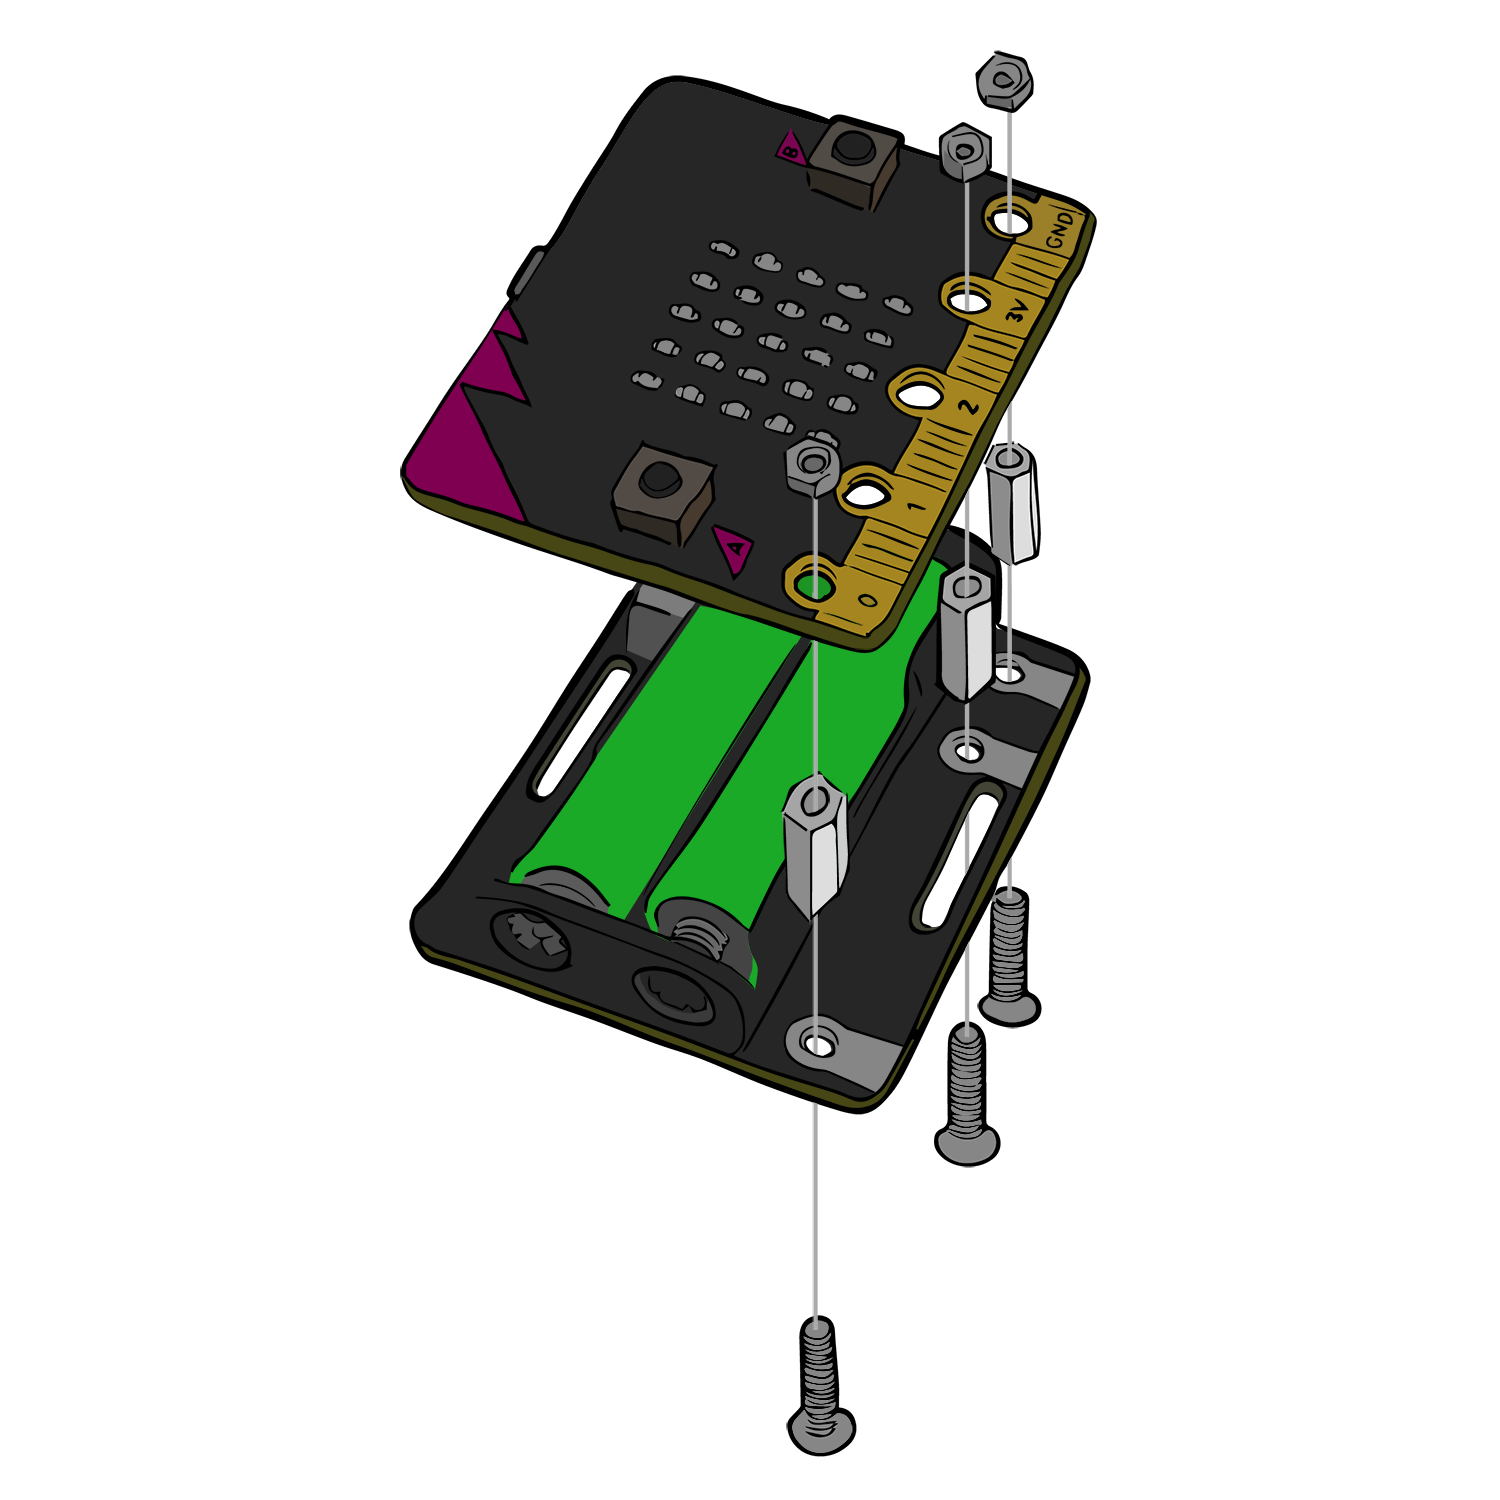
2. Push the first screw through one of the three connection holes on the wearable board. Then screw a spacer onto the screw until tight.
3. Repeat this process for the other two screws and spacers.
4. Place the micro:bit onto the exposed screw ends and use the nuts to fasten. Preferably use a screwdriver and spanner to tighten as this will ensure the best connection possible.
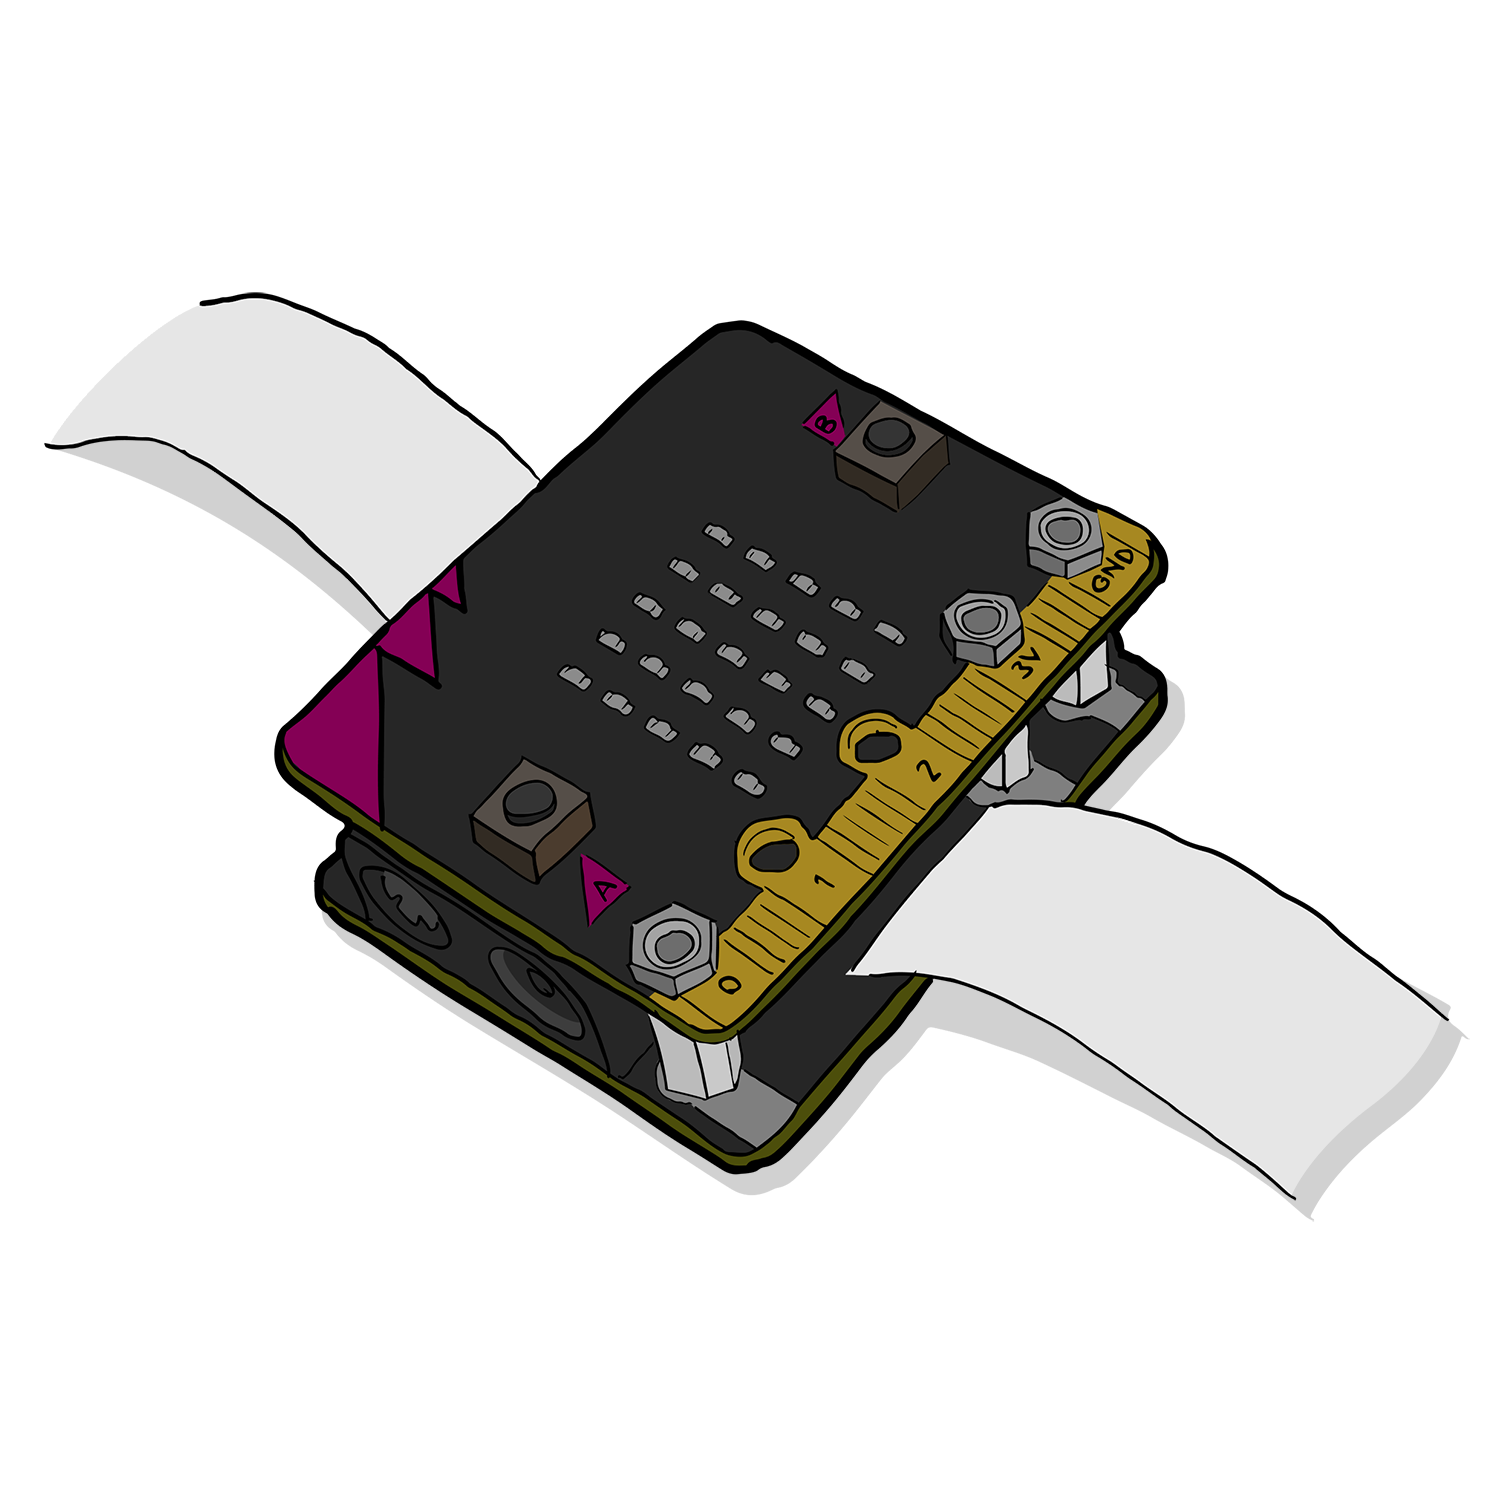
5. The final stage to completing the wearable kit is to add the velcro strap. This can be done using the slots available on the wearable board.
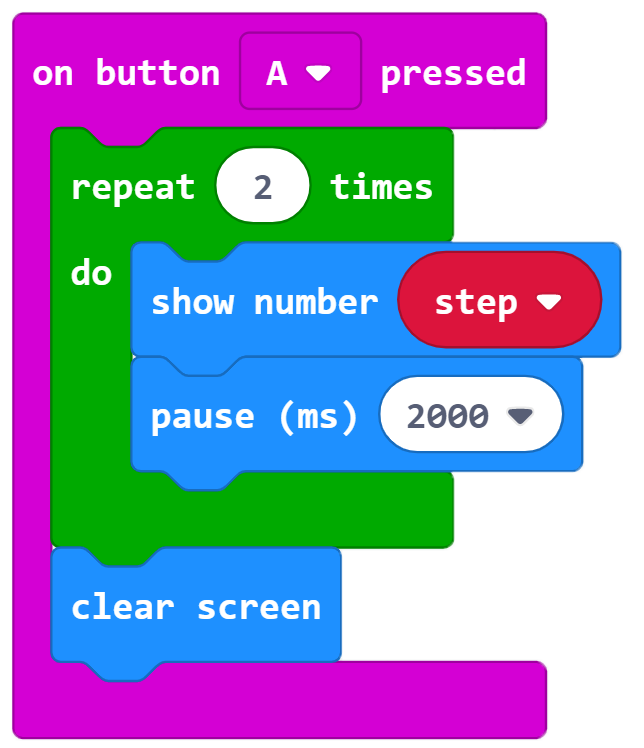
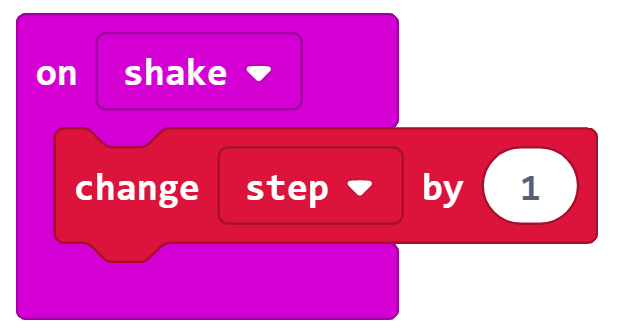
6. Turn your fully assembled wearable kit into a name badge or pedometer using the start-up lessons.
Keep in Touch
We would love to keep in touch with you and as a result aid you along your digital education journey.
Becoming a digital education subscriber means you will receive exclusive offers and we will keep you up to date with new lessons and kits, as well as upcoming events and workshops.