Students will investigate the cooling of a temperature probe by combining classic science educational equipment with digital technology. Students will work in groups of 2 or 3 and will record the data using iLOG and evaluate their results.
Aims
To understand how a temperature probe cools post exposure to boiling water.
WHEN CONDUCTING THIS EXPERIMENT ENSURE SAFETY GOGGLES ARE WORN AT ALL TIMES AND HEAT PROOF GLOVES ARE USED FOR HANDLING HOT ITEMS.
Preparation
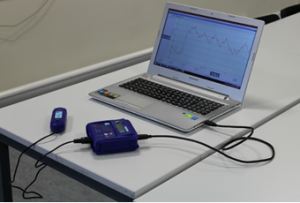
The Sensor
Connect the micro:bit to the Mini Innovation board via the edge connector.
Connect the temperature probe to the ADC1 connector on the mini innovation board.
Connect the micro:bit to a computer via the microUSB cable.
Getting iLOG Ready
If this is your first time using iLOG we recommend following our Guide to setup your micro:bit for data logging activities.
Once the micro:bit is setup in step 1 you can now configure the datalogging settings.
First you need to select Collecting Data. We are telling iLOG and the micro:bit we wish to gather data from them.
Then Select Logging from sensors. This allows us to log directly from the micro:bit over USB. Note you can also log remotely by using a battery pack.
Now we need to select the sensor we have connected.
Click on the Sensors Box. This will open a new popup window.
Tick ADC1 and in the dropdown select Temperature Probe (Celsius). This can be found under MicroMaker.
Now we need to set how long we want to log for.
For this experiment we selected 5 minutes as the time may vary depending on your equipment.
Now all the configuring is done its time to click Ready.
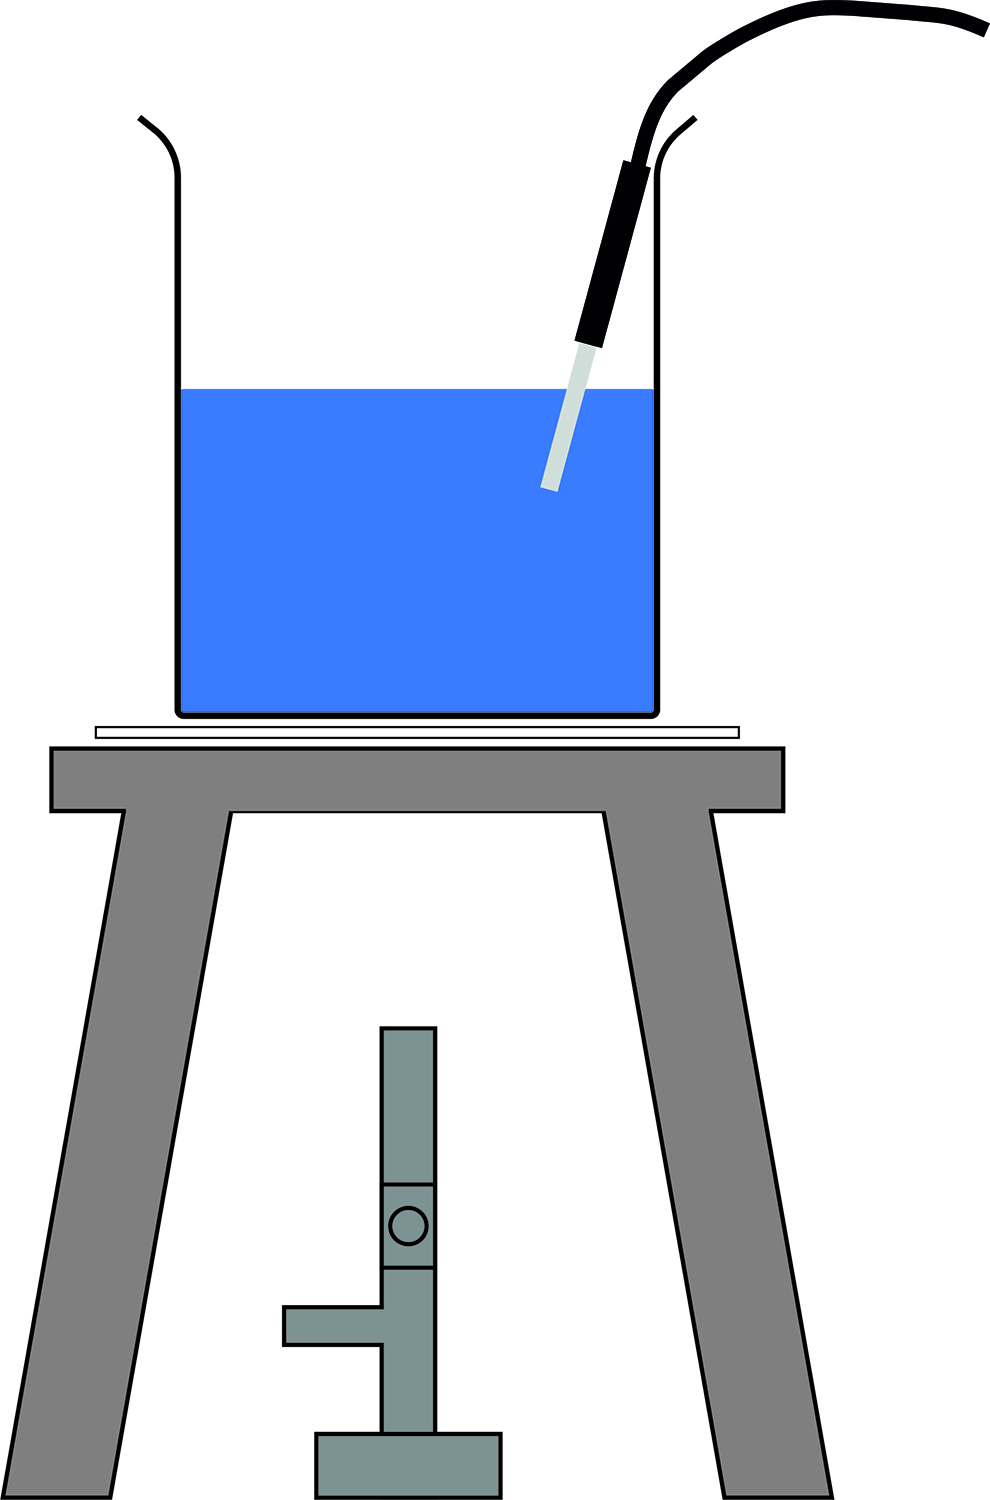
The Apparatus
Use the illustration to set up the apparatus.
Connect the Bunsen burner up to a gas supply but do not turn on.
Ensure that the beaker is 3/4 filled with water.
Insert the Temperature Probe into the water.
Datalogging
Below is a check list of everything you need to have setup and ready to go:
Micro:bit setup with temperature probe connected to ADC1.
iLOG on its main graphing screen with Temperature probe set to ADC1.
Apparatus setup and ¾ filled with water.
If the above points are all done, then Datalogging can begin.
Activity
Turn on the Bunsen Burner and light the gas.
When the water starts to boil you need to click start in iLOG.
Turn off the Bunsen Burner.
Remove the probe from the water.
You will quickly see the temperature drop.
Over time the temperature decrease will start to slow down as it gets closer to room temperature.
Taking it Further
Conduct an investigation into the effects of immersion on the heating and cooling effect of the temperature probe.
Conduct an investigation into the effects of insulation on the heating and cooling of the temperature probe.
Keep in Touch
We would love to keep in touch with you and as a result aid you along your digital making journey.
Becoming a digital maker subscriber means you will receive exclusive offers and we will keep you up to date with new resources and kits, as well as upcoming events and workshops.