Students will create a temperature gauge using a Thermistor (temperature) sensor and and servo motor. The servo motor will act as a guage to illustrate the temperature of the environment.
Students will also be required to perform a calibration to match the temperature gauge to the environment that it is in.
Aims
Learn how to calibrate a sensor.
Use an input to control an output.
Download the Code
MakeCode Editor
Click the button below to download the MakeCode editor code for this lesson. The hex file is contained in a zip folder.
Kindly refer to our download the code page for instructions on how to upload your code onto the micro:bit. Please use instructions set A.
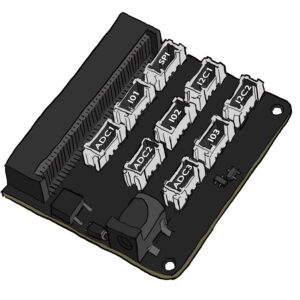
Connect the micro:bit to the Innovation board via the edge connector.
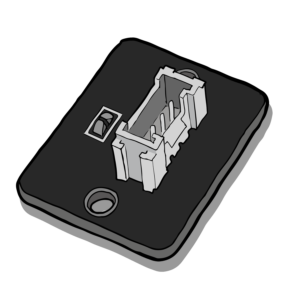
Connect the thermistor to ADC1 using the connector cable.
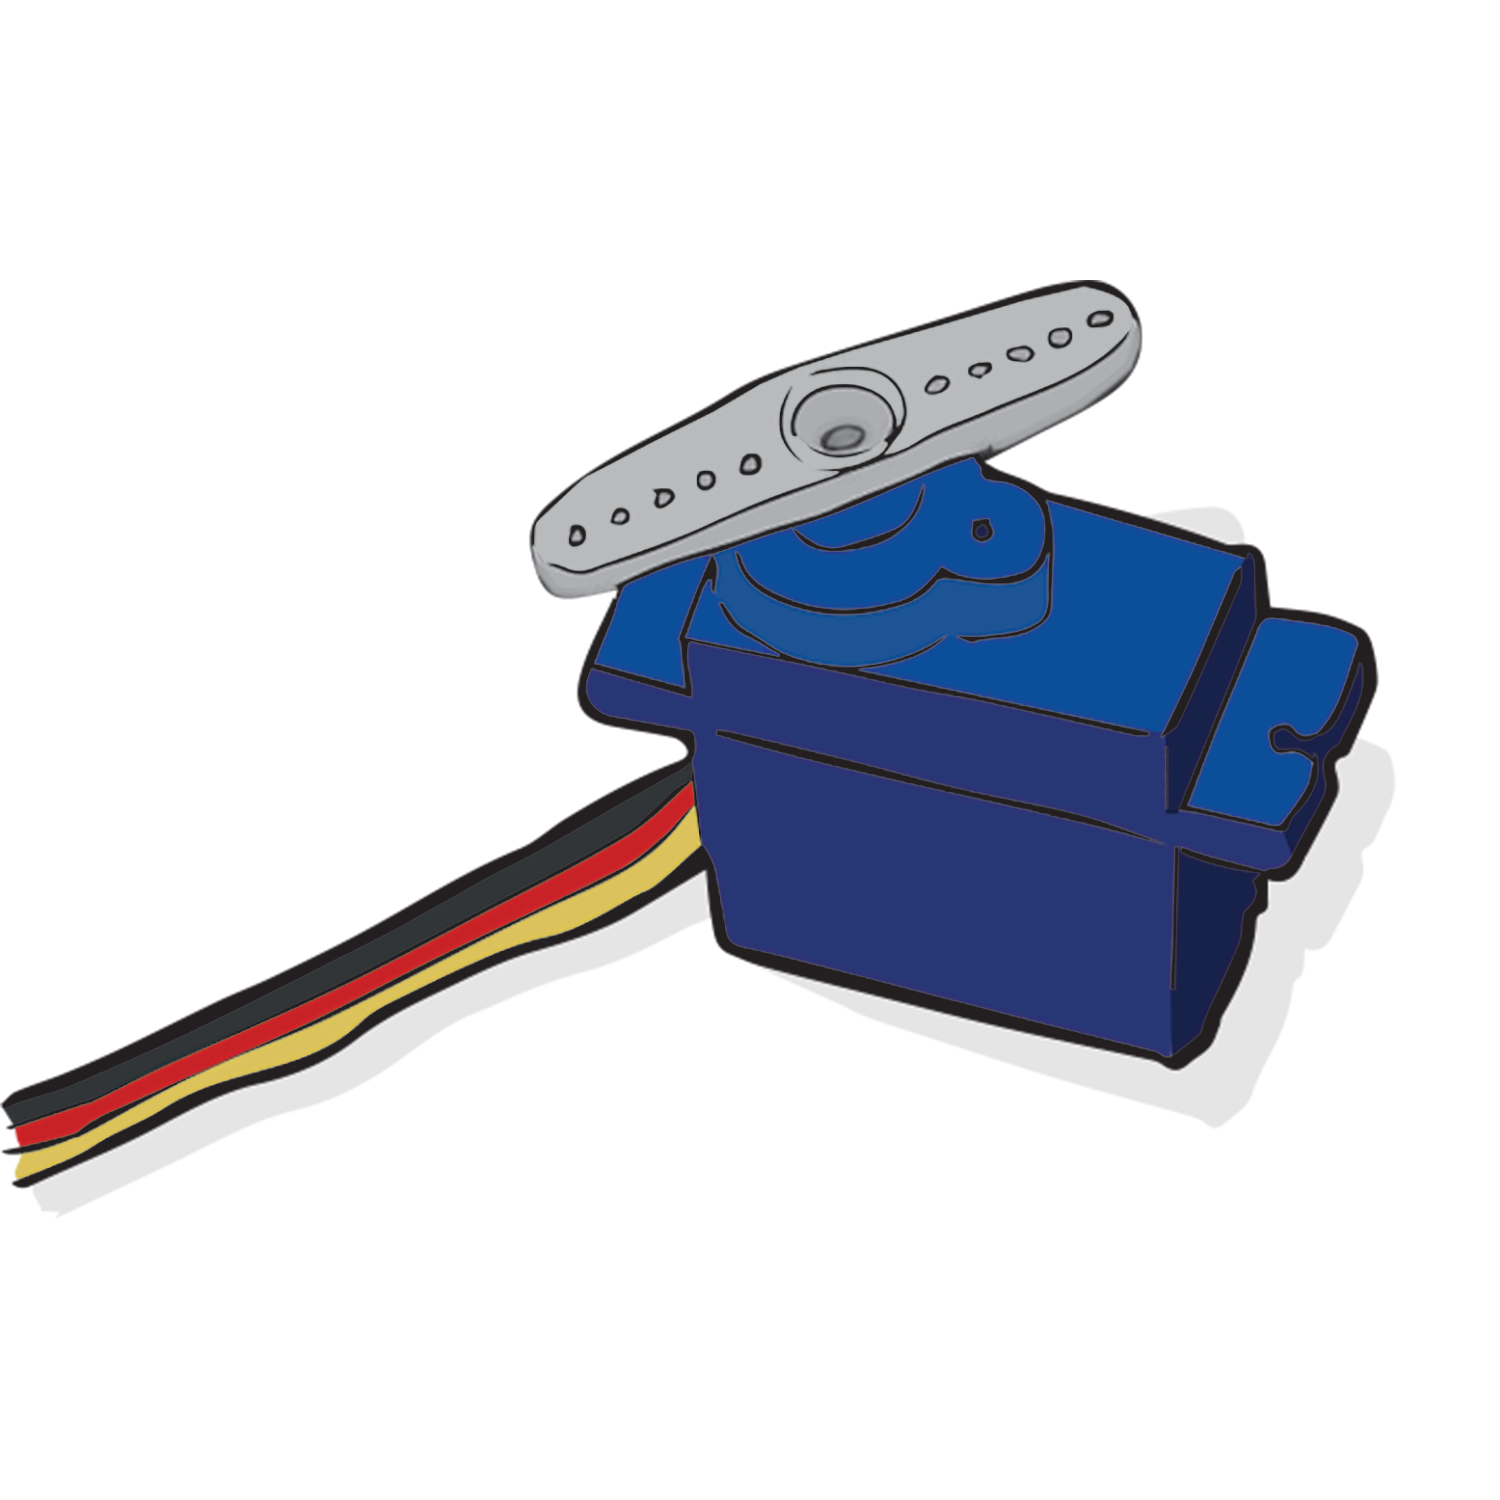
Connect the servo motor to ADC 2.
Connect the micro:bit to a computer via the microUSB cable.
Go to the MakeCode website on your computer and open a new project.
Select the ‘extensions’ tab and search for ‘servos’. Add this extension to the tab list by selecting it.
Calibration
The aim of the calibration is to identify the Thermistor reading for a comfortable temperature.
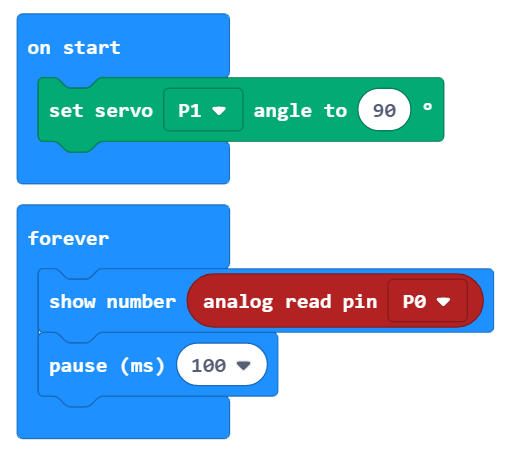
Place the equipment on a table in a location that is at a comfortable temperature. The code shown below is assuming comfortable is roughly 20 degrees Celsius.
Build the code illustrated in the image to the right. All code blocks can be found in the ‘basic’ tab and ‘pins’ tab.
Alternatively download the calibration code from the ‘download the code’ section above.
Upload the code onto the micro:bit.
Connect the single arm from the servo motor accessories to the servo motor. Ensure the arm is pointing in the direction of the cables.
Note the value shown on the micro:bit LED matrix. This value is as the comfortable temperature.
To begin, it is safe to assume a Thermistor value that is 90 lower than the comfortable temperature is a significant reduction in temperature. Value 90 higher than comfortable is a significant increase in temperature.
Time to Code
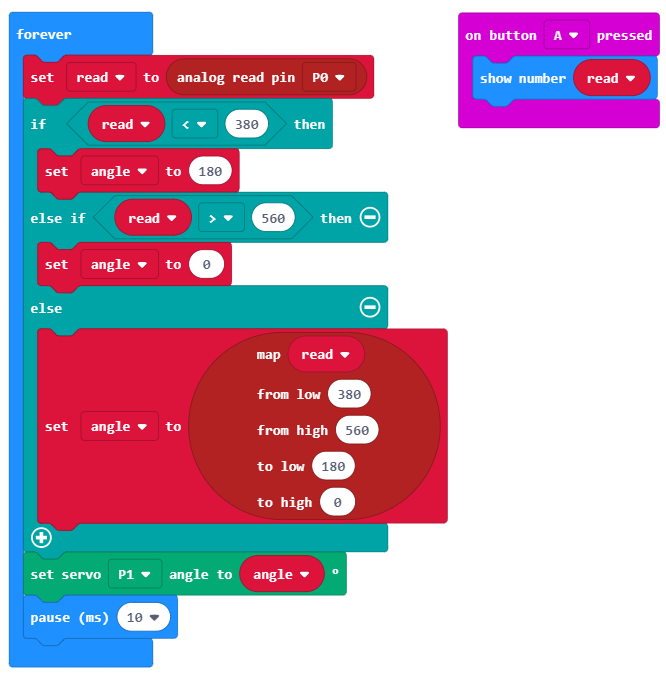
What Will Happen
Once the device is powered, the temperature gauge will run constantly. The Thermistor will read the temperature value and then process it. If the value is less than 380 the angle of the servo motor will stay at 0. If the value is greater than 560 the angle of the servo motor will remain at 180.
If the temperature value falls in between 380 and 560 the servo motor will adjust accordingly. The comfortable temperature that was calibrated at the start will move the servo motor angle to 90 degrees.
Taking it Further
Using some colouring materials to create a visual gauge.
Design and 3D print a casing for the temperature gauge.
Keep in touch
We would love to keep you up to date with all of our latest news, offers and new products.
If you would like to subscribe to our mailing list please click the button below.